This article provides information on how to setup L3 VPN on supported Android devices. Additionally, the corresponding VPN configuration on the Junos Pulse SA device and Pulse Mobile for Android is provided.
How to setup L3 VPN on Samsung and Lenovo android devices. Additionally, the corresponding VPN configuration on the Junos Pulse SA device is provided.
Configuring the Junos Pulse secure access device:
1.Under User roles, ensure that VPN Tunneling option is selected:
![]()
2.Under User role > VPN Tunneling options, select the required Split Tunneling option.
3.Under Resource Policies > VPN Tunneling > Access, ensure that the default policy – VPN Tunneling Access Control – is present or add the required Access policy to allow resources.
4.Under Resource Policies > VPN Tunneling Connection Profiles, configure the IP pool to be assigned to Clients, transport mode etc.
5.If Split tunnel is enabled, as specified in step 2, then add the required subnets to tunnel through the VPN under Resource Policies > VPN Tunneling > Split tunneling network.
Installing Junos Pulse:
Junos Pulse needs to be downloaded and installed from the Google Play Store.
Configuration of the Android device:
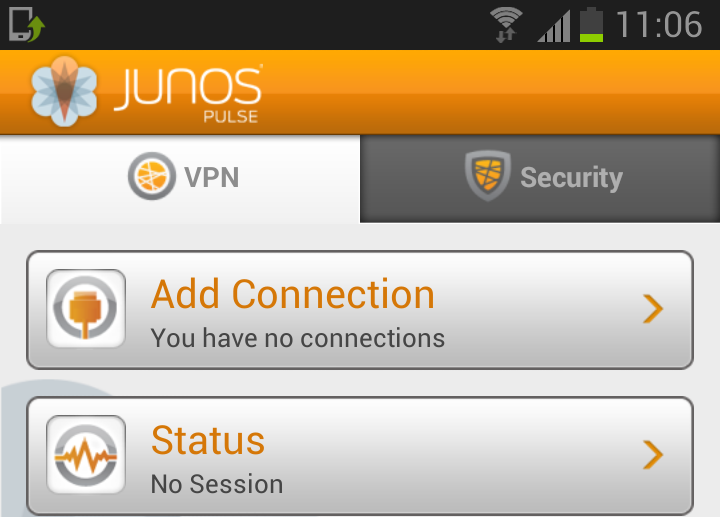
1.Open the Junos Pulse App.
To add a connection, click the Add Connection button:
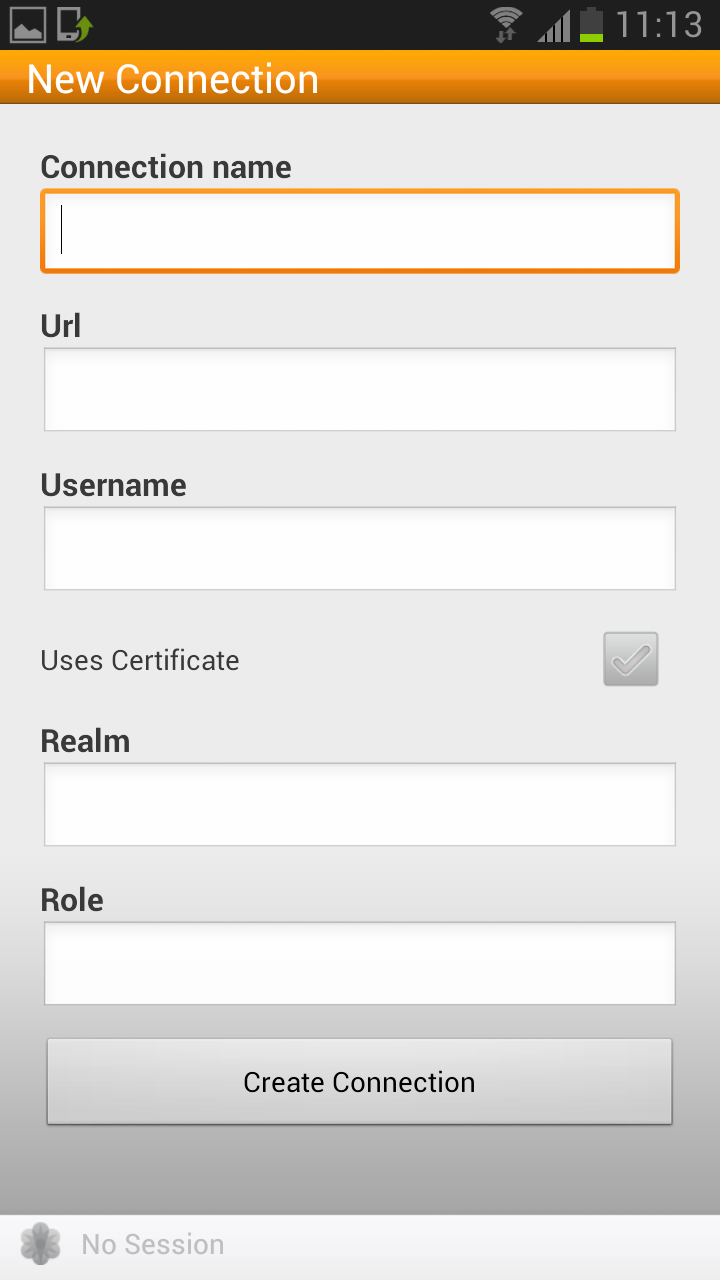
2.Enter the connection details. You can ‘remember’ the Username, Realm and Role.
If certificate authentication is used, check the ‘Uses Certificate’ box, and provide the path to the certificate and key files.
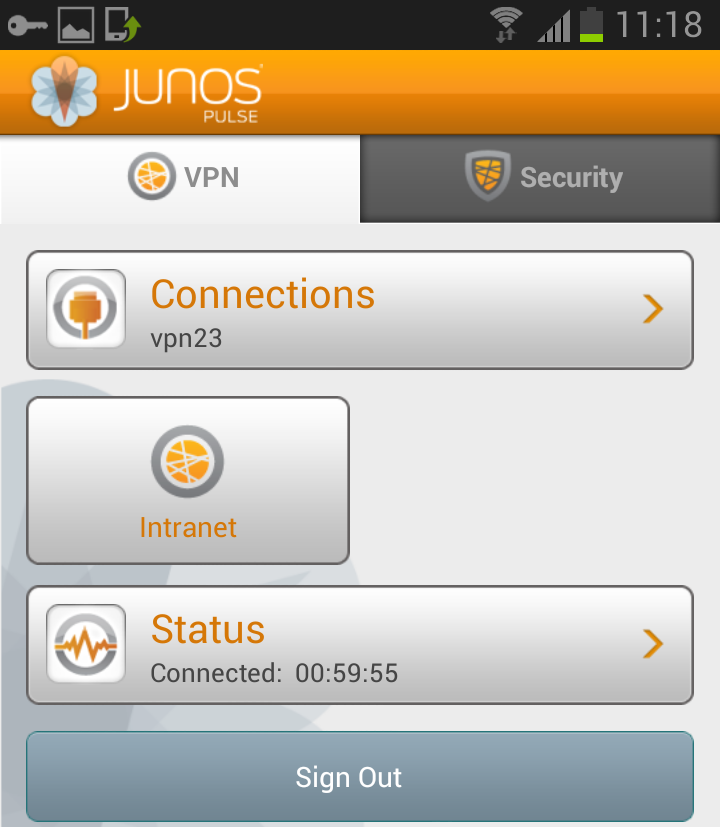
3.When the Junos Pulse session is established, click Intranet to access web bookmarks:
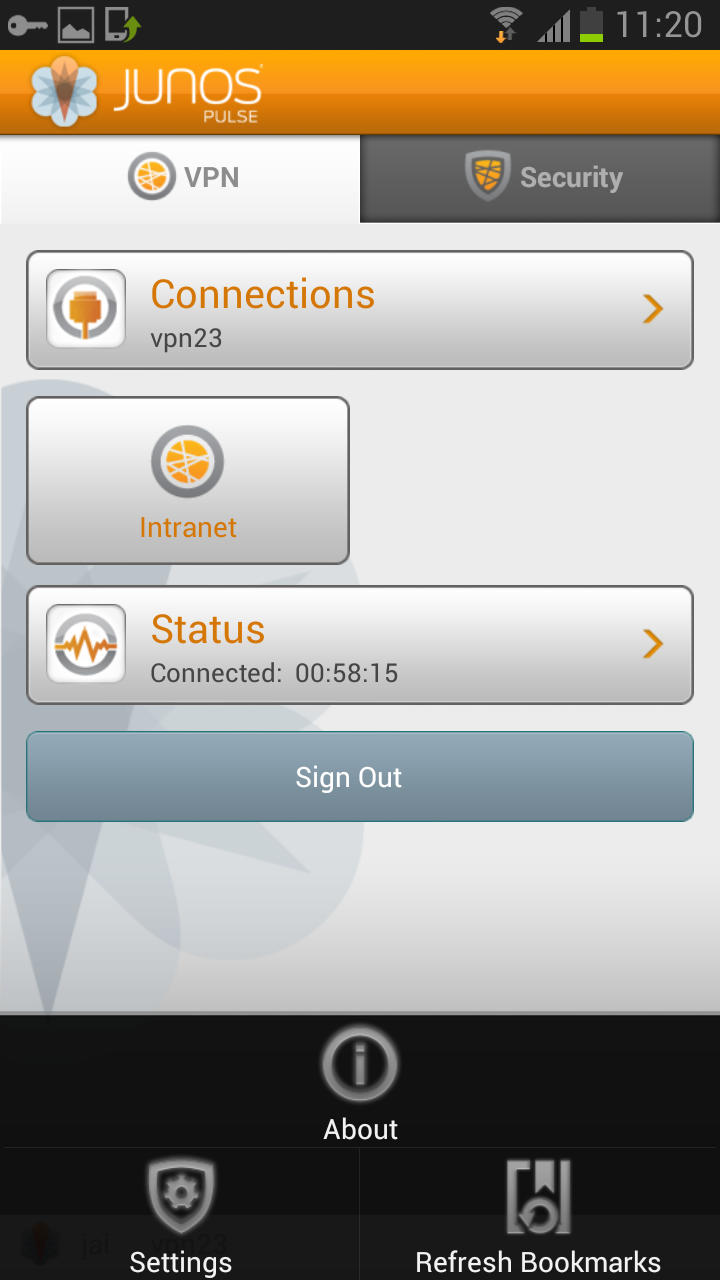
4.To view the Junos Pulse version, click About:
Troubleshooting:
To obtain the Client logs, click the left tab and go to Settings > Support Info.
Click on View Logs and the Send Logs option will be at the bottom of the screen.
Then click on Send Logs and send the logs using any of the options below :
Additionally, for more information on Junos Pulse configuration with mobile devices:
1.Go to the Junos Pulse for Mobile Devices Technical Documentation:
http://www.juniper.net/techpubs/en_US/release-independent/junos-pulse-mobile/index.html
2.Under Software Documentation, select your version
3.Several documents are available, such as ‘Junos Pulse for Google Android’.