For years, Windows OS has had a native clipboard with limited basic functionality. This has necessitated users to install and use clipboard manager apps for extended clipboard functions. However, Windows 10 October 2018 update packs multiple clipboard functionality among other perks. The new Windows 10 clipboard offers comprehensive functionality in saving multiple items and syncing. You can easily call up a previous clipboard entry via a simple keyboard shortcut using this new clipboard. Nonetheless, this feature is opt-in- it isn’t activated by default, so you need to enable it first. Let’s see how you can view clipboard history on Windows 10.
How to enable the new view clipboard history in Windows 10
Enabling the new clipboard functionality in Windows 10 is easy. Here’s how to go about it:
How to enable the new view clipboard history in Windows 10
- Ensure you are running the October 2018 Windows 10 OS build. To do this, press Windows Key + R to launch the Run dialogue. Type ‘winver‘ and hit ENTER.
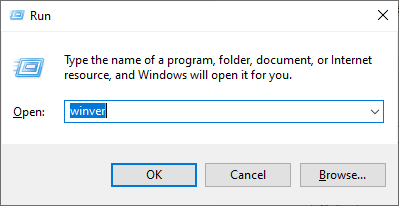
Ensure that you are running at version 1809 and later of windows 10. I’m running version 1903 as seen in the screenshot image below.
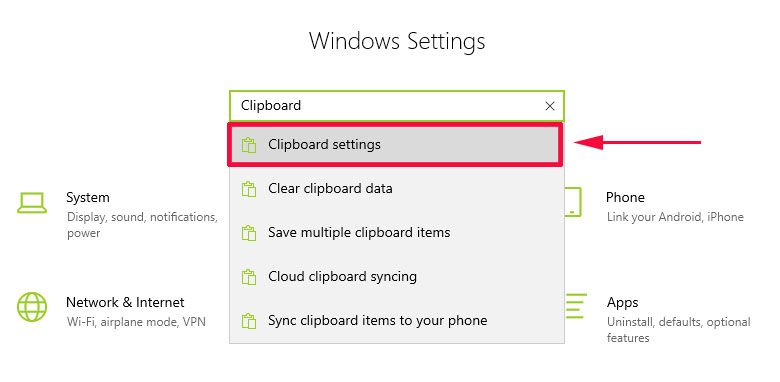
- Next press the Windows Key + I to open the ‘Settings’ window. Type the word ‘Clipboard‘ and click on the ‘Clipboard settings’ option.
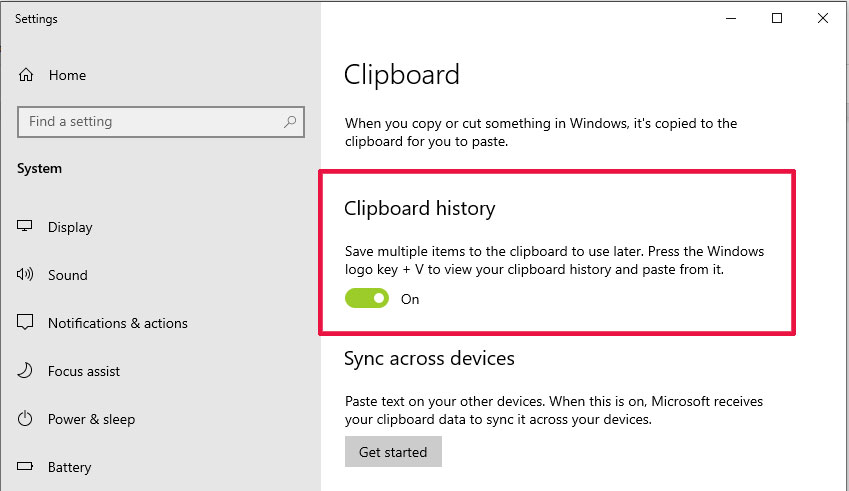
- On the ‘Clipboard ’ window, locate the ‘Clipboard history’ section and Turn ON the toggle to ‘Yes’ to allow the saving of multiple items to the clipboard for later use. From this point, you’ll be able to view all items copied to the clipboard.
How to view the clipboard history
The clipboard starts keeping a record of all copied items immediately after you activate the ‘save multiple items’ feature. To view your clipboard history, simply press the ‘Win + V’ keyboard shortcut. A little panel displaying all items you’ve sent to the clipboard opens just above the Windows notification area (bottom right of the display). 
How to use items in the clipboard history
You can scroll through the files, images or text in the clipboard history for a preview of something you copied earlier. Clicking on an item allows you to copy and paste it to the same or another location. Further, you can click on the pin icon on any item to pin it to the top of the clipboard history. Pinned items are exempt from deletion when you clear the clipboard history.
Clicking on the close button next to each entry in the clipboard history deletes that item from the clipboard history. You can also click the ‘Clear all’ button on the clipboard history panel to delete all clipboard history except the pinned items.
Alternatively, you can go to the ‘Clipboard’ tab in the ‘Settings’ app to clear all the clipboard history.
Clipboard history and sensitive data
Unlike in previous versions, the new Windows 10 Clipboard history stores all the information you send to the clipboard. Thus, copying and pasting sensitive information like personal details, passwords, login information, and banking details exposes it to potential unauthorized access. The information can then be used in numerous malicious attacks including hacking, identity theft, and fraud.
Clipboard history stays intact even after a system restart. Though you can safeguard your personal information by clearing out the clipboard history, the best data protection is to never copy sensitive data to the clipboard.
Conclusion
As a Windows 10 user, you no longer have to hassle over locating items you have sent to the clipboard. The new multi-save clipboard history stores all items copied to the clipboard. You can scroll to a previously sent item and either copy it, pin it to the clipboard history, or delete it. There’s apparently no limit to the number of items the clipboard history can hold. Still, it’s advisable to clean or trim the history frequently so only important items are stored long-term.