Simple Steps to Set Up Google Calendar App on Windows 10
- Add Google Calendar on Windows 10 Calendar Application
To add your Google calendar app on Windows 10, follow the steps below:
Step 1: Head out to the search and type ‘Calendar’. On the pull-up menu, click on the calendar application as shown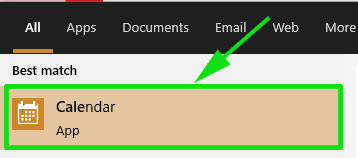
Step 2: When the calendar app is launched, click on the ‘Add account’ option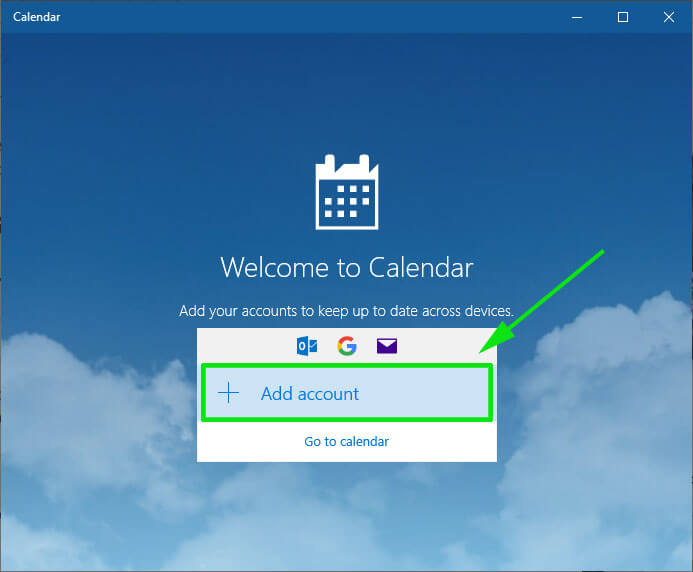
Step 3: Next, click on the ‘Google’ option as shown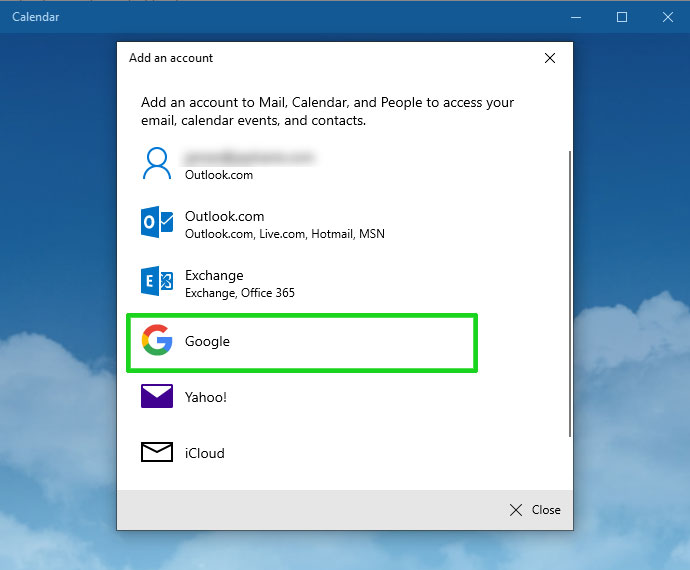
Step 4: Next, you will be prompted to sign in using your email ID and password, after which your Google Calendar will be synced to your Windows Calendar App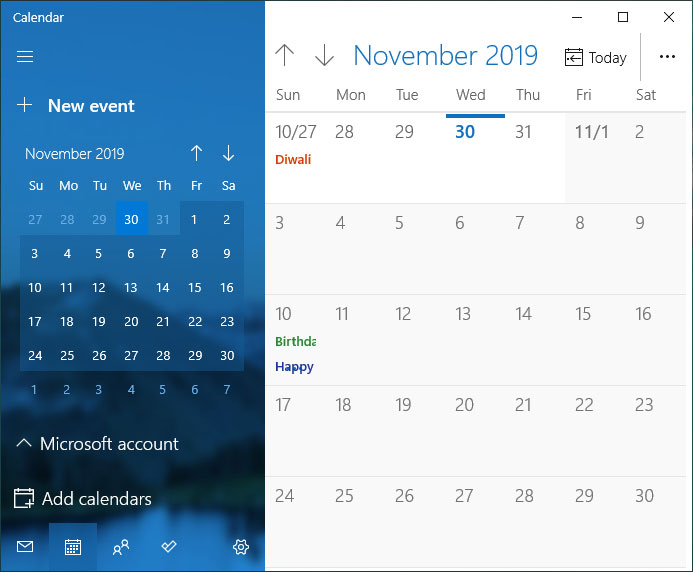
And there you go! - Add Google Calendar shortcut to Windows Desktop
To make your life much easier, you can simply add a shortcut to your Calendar’s application using 5 simple steps:
Step 1: Open a new tab and click on the ‘Google Apps’ icon represented by a set of small squares on the top-right corner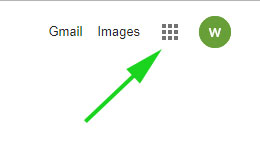
Step 2: Next click on the calendar app shown below to Open Google calendar.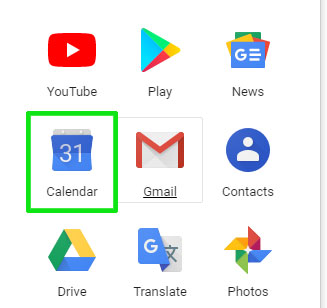
Step 3: Click on the 3 dots at the top right corner and click on ‘More tools‘ then click on ‘Create shortcut‘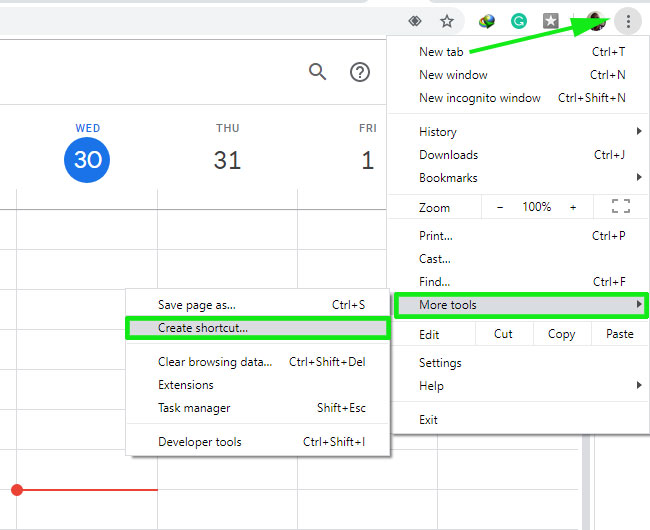
Step 4: Specify the shortcut name and click on the ‘Create’ button
This creates a Calendar App shortcut on the Desktop. Next time you want to open the calendar app, simply launch it by double-clicking on the Calendar shortcut icon.
- Add Google Calendar to Microsoft Outlook
You can also seamlessly integrate your Google Calendar with Microsoft Outlook. This sync Outlook with all the changes from your Calendar app. To achieve this, follow the simple steps below.
Step 1: Open your ‘Calendar‘ application. Navigate to your calendar name and click on the 3 dots as shown.
Step 2: Next, click on ‘Settings and Sharing‘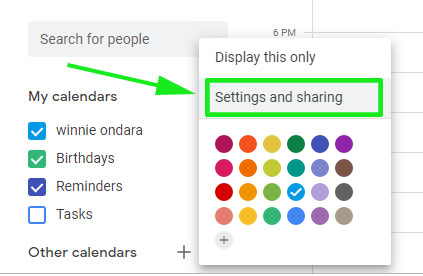
Step 3: Under the ‘Integrate Calendar’ section, scroll and locate ‘secret address in ical format‘. Next Copy the address.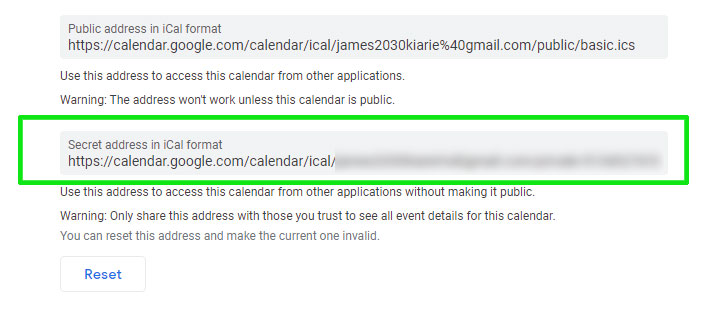
Step 4: Head out to Microsoft Outlook and click on File > Account Settings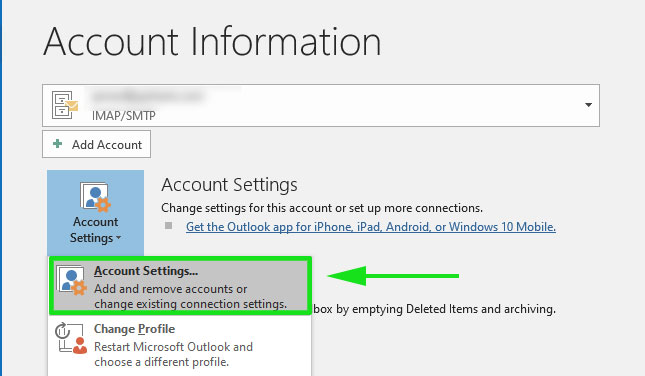
Step 5: On the ‘Account Settings‘ window, click on the ‘Internet Calendars‘ tab and then click on the ‘New‘ tab as shown.
Step 6: Now paste the secret ICAL address that you copied earlier on in Step 3.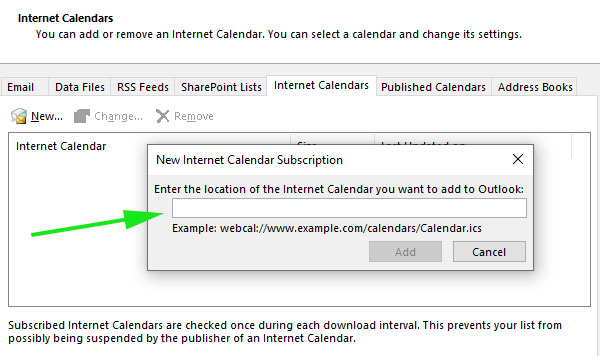
Step 7: On the next window, ‘Subscription Options’ fill out the Folder name, and ‘Description’ text fields and check the ‘Attachments‘ checkbox. Finally, click OK.
Step 8: Now head back to the home section and click on the Calendar App icon as shown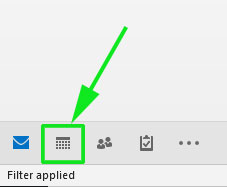
On the Calendar’s page, be sure to find your calendar’s name on the bottom left section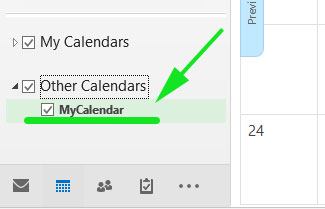
Finally, your Google calendar will be displayed and Outlook will continue to download and sync any updates made on Google Calendar.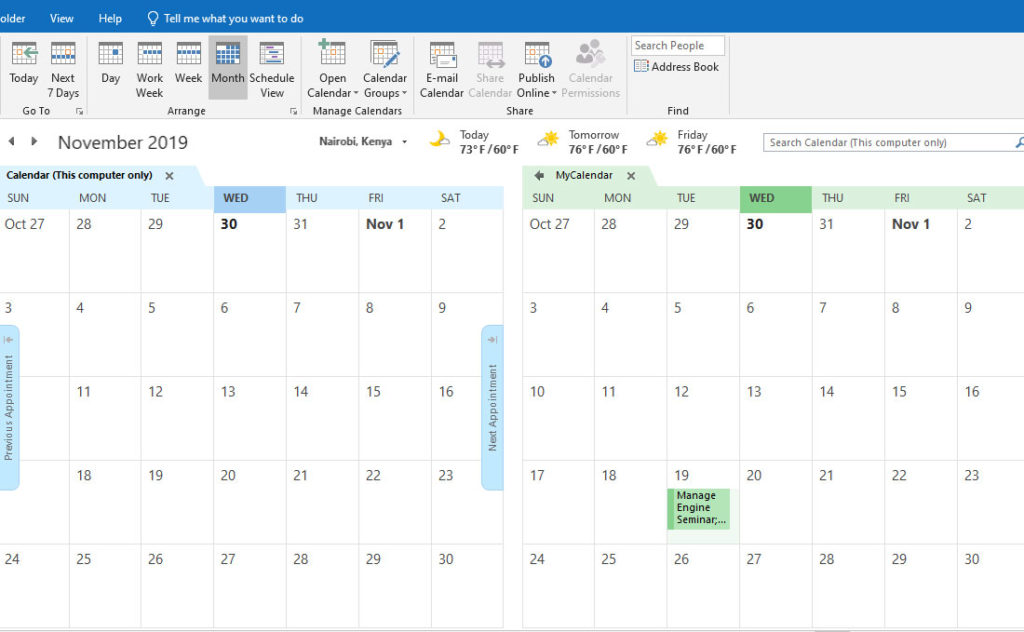
We have come to the end of this guide and hope that it has provided insights on how you can integrate your Google Calendar with Windows 10. Feel free to get back to us with any feedback. Thanks.